
MASCOTS FOR ONBOARDING
Make the first hello feel like you.
Use the same character from your landing page to welcome people into the product. A wave, an open posture, and one practical next step can make the transition feel deliberate.
Real CreateMascot artwork. Screen copy below is an example you can adapt.
 Make yourself at home.
Let’s set up your workspace. You can change these details later.
Set up my workspaceMake the moment useful.
Onboarding asks for attention before someone has seen much value. Your mascot can give the flow continuity, but each screen still needs a reason to exist. Use illustrations to introduce a step or acknowledge progress, and keep the task itself easy to understand without the artwork.
Give each step one job
Use a welcome pose for the introduction and a pointing pose for guidance. Avoid changing the character’s outfit, colors, and face at the same time as teaching a new feature.
Keep setup moving
Show the next action immediately. A mascot should not become an extra screen people must dismiss before they can try the product. Make optional steps visibly optional.
Carry the same identity into email
Reuse the approved welcome illustration in the first email when it fits. Keep essential instructions in live text, and make sure the message still works with images turned off.
Try this scene prompt.
Approve your mascot and style first, then adapt this example brief for the scene you need.
Use my approved character and brand style. Create a warm welcome pose with a friendly wave and open posture, adapted to the character’s anatomy. Preserve its face, proportions, signature colors and permanent details. Full character, square canvas, uncluttered background. No lettering or buttons.
Compare the result with your approved reference: face, silhouette, colors and permanent details. Generative results can vary; review each illustration before using it.
From illustration to interface.
Place the character above or beside the setup form, never behind form labels. Check keyboard order and narrow-screen spacing. Use real step progress if available; the illustration itself should not imply a step is complete before the account setup succeeds.
You receive PNG artwork. Add your own text and controls in your product or design tool; the image is not an editable SVG or a working screen.
See how one Nellie reference became five illustrations ↗A few useful answers.
Should I generate a different character for each step?
Keep one approved character and change the pose or prop. Review the face, silhouette, colors and accessories side by side so the steps feel like one sequence.
Can I bring a mascot from my existing product?
Yes. Upload a PNG, JPEG or WebP you have rights to use, describe the identity details, and approve your reference before generating welcome scenes.
Same character. Next moment.
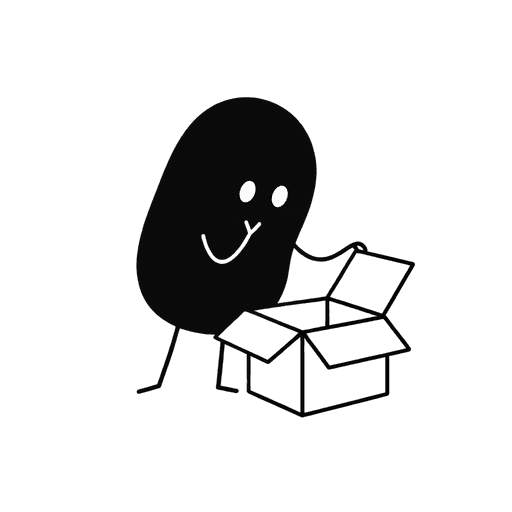
Mascots for empty states
Your first project starts here.
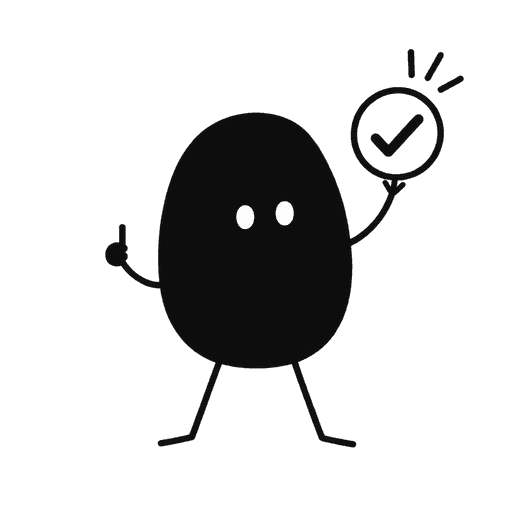
Mascots for success states
Your project is published.

Mascots for newsletters
One idea for your week.
Give your product a familiar face.
Start with your own artwork or describe a new character. Approve its identity and style, then generate the scenes you need.
Maker Pack: $20 once for 200 credits. A square image uses 5 credits; a landscape placement uses 8. Generation requires credits.